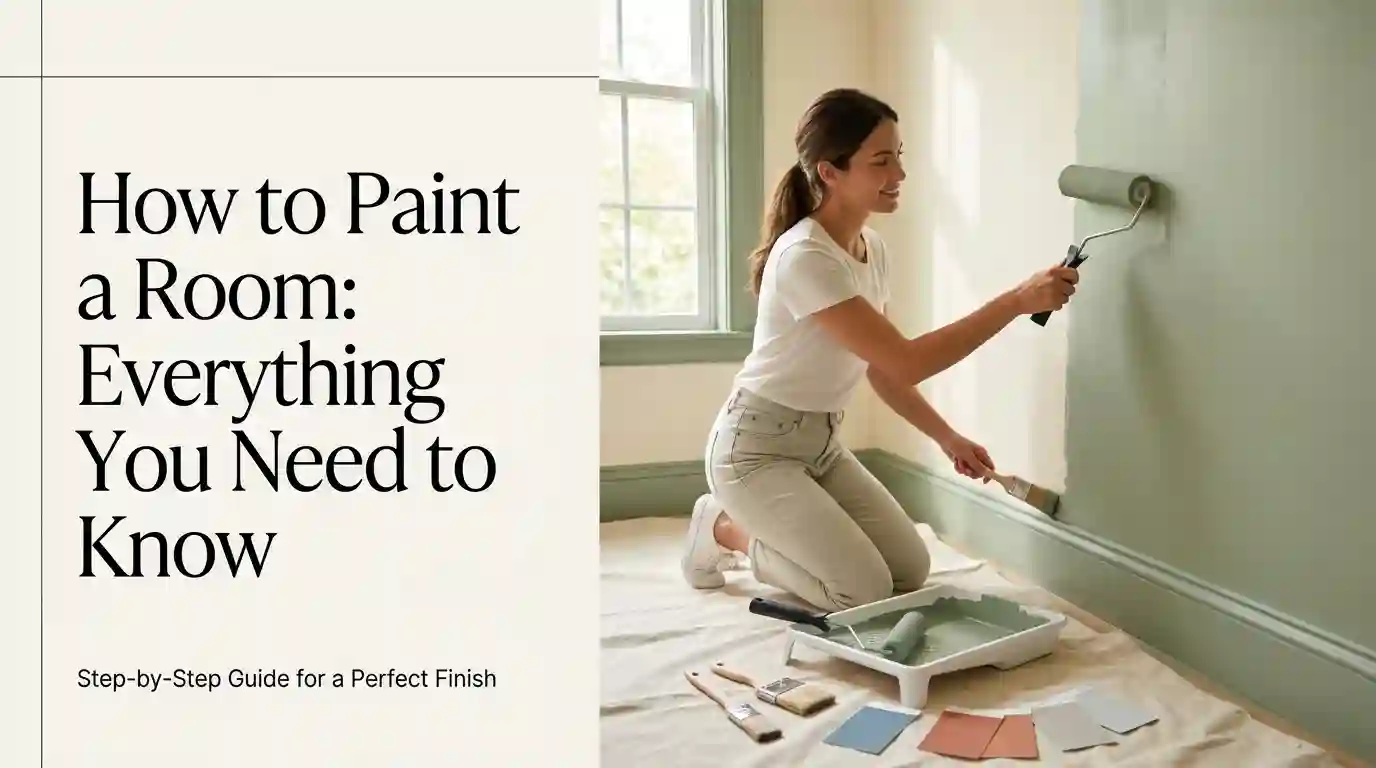
How to Paint a Room: Everything You Need to Know
Painting a room looks simple until you actually start. Uneven lines, patchy coverage, or paint splatters on the trim are all signs that something in the process went wrong. Knowing how to paint a room properly, from start to finish, makes the difference between a professional-looking result and a frustrating weekend project.
This guide walks through everything you need: the right supplies, room preparation, painting technique, and the mistakes most people make without realizing it. Whether this is your first time picking up a roller or you’re looking to sharpen your technique, this article covers the full process step by step.
Many people assume painting is just about picking a color and rolling it on, but the real difference between a polished result and a patchy one usually comes down to preparation and technique long before the color even matters.
Supplies You’ll Need Before You Start
Having everything ready before you begin saves time and prevents mid-project trips to the hardware store.
- Paint in your chosen color and finish
- Primer, if needed for your wall condition
- Angled brush for cutting in edges
- Roller and roller covers sized for your wall texture
- Painter’s tape for clean lines along trim and edges
- Drop cloths to protect flooring and furniture
- Sandpaper for smoothing rough patches or old paint
- Spackle or filler for holes and cracks
- A paint tray and extension pole for easier reach and application

Gathering these supplies ahead of time is one of the most overlooked steps in how to paint a room efficiently, since constant interruptions to search for tools slow down the entire process and often affect the quality of your finish.
Step 1: Prepare the Room
Preparation determines how smooth and professional your final result will look.
Move or Cover Furniture
Move furniture to the center of the room or out entirely, then cover anything left behind with plastic sheeting or old sheets. Paint splatters travel further than most people expect.
Clean the Walls
Dust and grime prevent paint from adhering properly. Wipe walls down with a damp cloth, and use a mild cleaner for kitchens or bathrooms where grease or moisture tends to build up.
Repair Holes and Cracks
Fill nail holes, dents, and cracks with spackle, let it dry fully, then sand the area smooth. Skipping this step means every imperfection will show through the new paint.
Tape Off Trim, Edges, and Fixtures
Apply painter’s tape along baseboards, window frames, and light switches. Press it down firmly to prevent paint from bleeding underneath, which is one of the most common causes of messy edges.
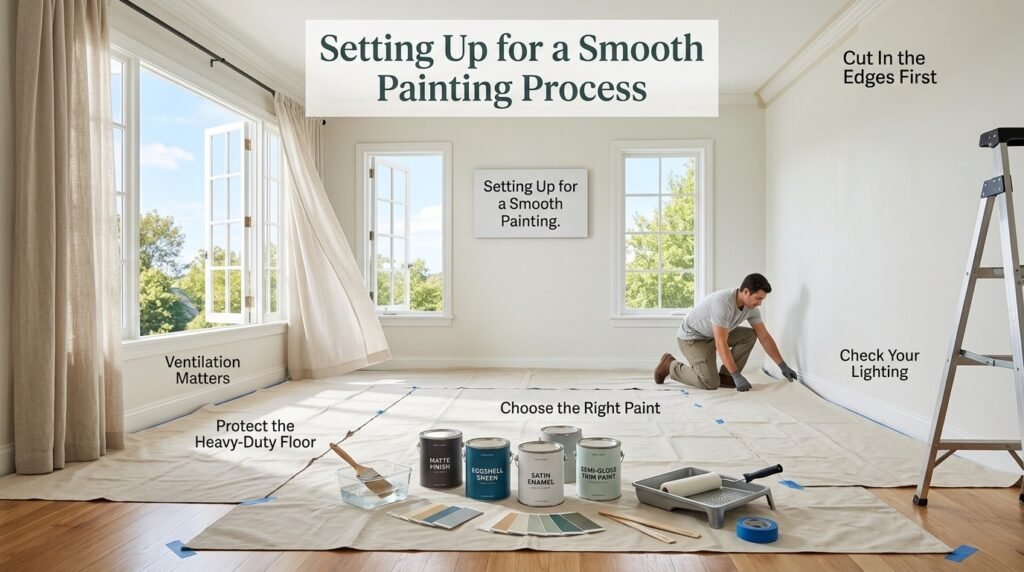
Setting Up for a Smooth Painting Process
A few extra setup steps make the actual painting stage go far more smoothly.
Ventilation Matters
Open windows or run a fan while painting, especially with oil-based paints or in smaller rooms. Proper airflow speeds up drying time and reduces strong fumes.
Protect the Floor
Even careful painters drip occasionally. Lay down a drop cloth or old sheets across the entire floor area, not just directly under where you’re working, since splatters can travel further than expected.
Check Your Lighting
Natural daylight shows the truest color and reveals thin or streaky spots more clearly than artificial lighting alone. If possible, plan to paint during daylight hours, or use bright, direct lighting if working at night.
Step 2: Choose the Right Paint and Tools
The right materials make the actual painting process significantly easier.
Paint Finish Guide
- Matte or Flat: Hides imperfections well, but harder to clean. Best for ceilings and low-traffic rooms.
- Eggshell: A slight sheen with decent durability. A popular choice for living rooms and bedrooms.
- Satin: More washable and durable, often used in kitchens, hallways, and kids’ rooms.
- Semi-Gloss: Highly durable and easy to wipe clean. Ideal for trim, doors, and bathrooms.
- Gloss: The shiniest and most durable option, though it highlights every surface flaw.
How Much Paint Do You Need?
To estimate paint needed, measure the room’s total wall square footage by multiplying wall height by width for each wall, then subtracting doors and windows. One gallon of paint typically covers around 350 square feet with a single coat, though this can vary slightly by brand and wall texture.
Step 3: Prime the Walls
Priming isn’t always necessary, but it matters more than most people assume. Priming is essential when painting over dark colors with a lighter shade, covering stains or water damage, or applying paint to bare drywall for the first time. If you’re simply refreshing a wall with a similar color and the surface is in good condition, you can often skip this step and go straight to painting.
Step 4: How to Paint a Room Step-by-Step
This is the core process that determines your final result, and it’s the part most people search for when they want to know how to paint a room the right way from start to finish.
Cut In the Edges First
Using an angled brush, carefully paint a border around the edges of the wall, including corners, trim, and ceiling lines. This step, known as “cutting in,” creates clean boundaries before the roller comes in for the larger surface area.
Use the “W” Technique for Rollers
Load your roller evenly, then apply paint in a large “W” shape on the wall before filling it in with vertical strokes. This technique distributes paint evenly and avoids visible roller lines or streaks, a critical part of learning how to paint a room without leaving obvious brush or roller marks.
Painting Order
Work from top to bottom: ceiling first if it needs painting, then walls, and finally trim and doors last. This order prevents drips from ruining sections you’ve already completed.
How Many Coats Do You Need?
Most rooms need two coats for full, even coverage, especially when changing colors significantly. A single coat often leaves faint patches or uneven color, even with high-quality paint.
Drying Time and Second Coat Tips
Most paints need at least four to six hours to dry to the touch before a second coat can be applied, though full curing can take up to two to four weeks depending on the paint type. Always check the label for specific drying times, since humidity and room temperature can significantly affect how quickly paint sets. Applying a second coat too early can pull up the first layer instead of building on it smoothly.
Common Mistakes to Avoid
Avoiding these mistakes will save you time and prevent a patchy or uneven finish.
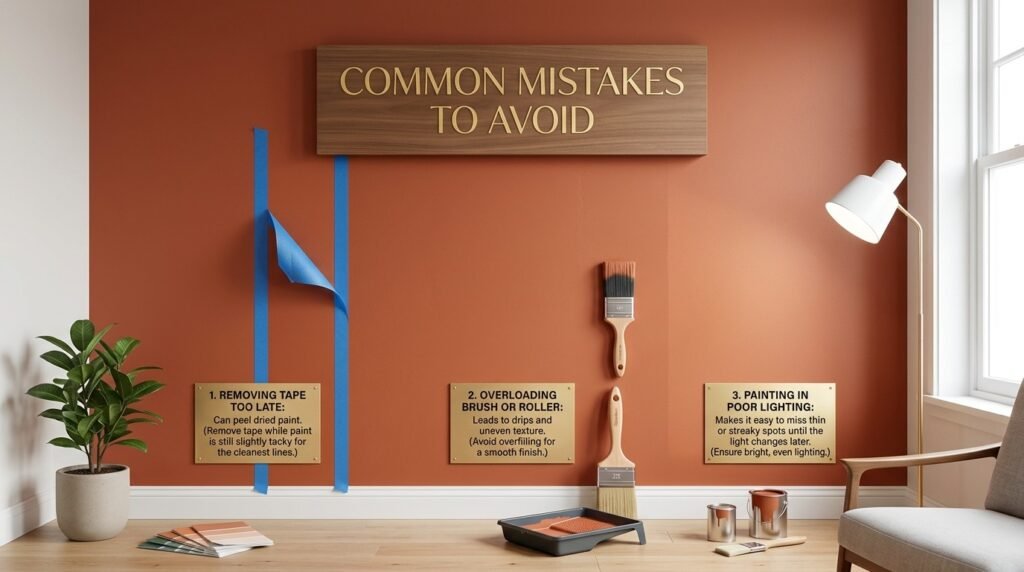
- Removing tape too late, which can peel off dried paint along with it. Remove tape while the paint is still slightly tacky for the cleanest lines.
- Overloading the brush or roller leads to drips and uneven texture.
- Painting in poor lighting, which makes it easy to miss thin or streaky spots until the light changes later.
- Skipping primer when painting a dramatic color change results in patchy, uneven coverage.
- Rushing between coats, which can cause peeling or an inconsistent finish.
Cleanup and Final Touches
Once painting is complete, clean brushes and rollers immediately with water for latex paint, or the appropriate solvent for oil-based paint. Leaving tools to dry with paint still on them usually ruins them for future use. Wait until the paint is fully dry, generally at least 24 hours, before moving furniture back into place to avoid smudges or dents in the fresh finish.
Frequently Asked Questions
How long does it take to paint a room?
A single average-sized room typically takes four to eight hours total, including prep, cutting in, rolling, and drying time between coats, though larger rooms or multiple coats can extend this.
Do I need to prime before painting?
Priming is recommended when covering dark colors with lighter ones, painting bare drywall, or covering stains, but it can often be skipped for simple color refreshes on walls already in good condition.
How many coats of paint do I need?
Most rooms require two coats for even, full coverage, especially when the new color differs significantly from the old one.
What’s the best paint finish for walls?
Eggshell or satin finishes are popular for most living spaces, offering a good balance of durability and a soft, low-glare appearance.
Can I paint a room in one day?
Yes, for smaller rooms with proper prep and fast-drying paint, though allowing adequate drying time between coats is still important for the best final result.
What’s the biggest mistake beginners make when learning how to paint a room? Skipping proper preparation is the most common mistake. Rushing past cleaning, taping, and patching walls almost always shows up as flaws once the paint goes on.
Final Thoughts
Learning how to paint a room properly comes down to preparation, technique, and patience between coats. Taping edges carefully, cutting in before rolling, and allowing proper drying time all make the difference between an amateur result and a clean, professional-looking finish.
With the right supplies and a clear step-by-step process, painting a room doesn’t have to be stressful. A little planning upfront goes a long way toward a result you’ll be happy with for years to come. Once you’ve gone through the process once, each future project becomes noticeably faster and easier, since the same core steps apply no matter which room or color you choose next.