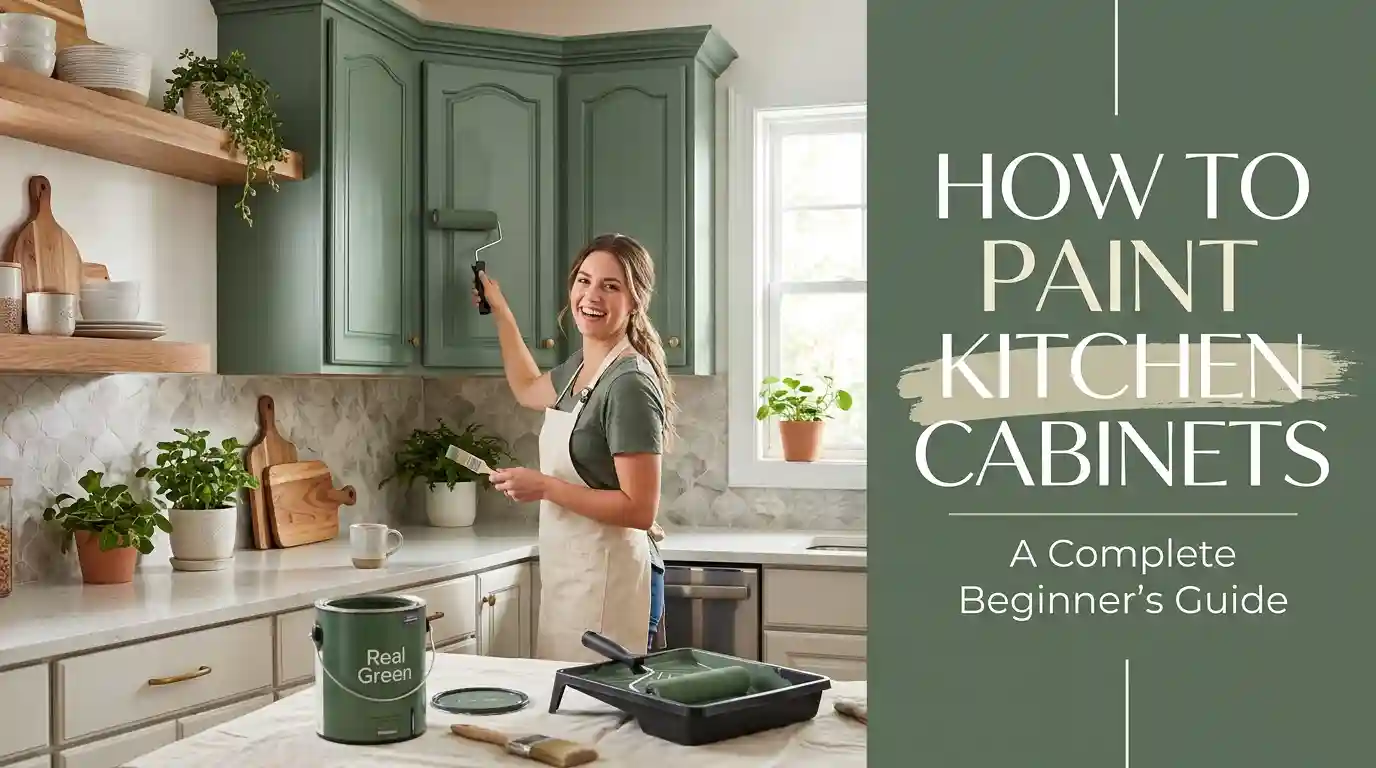
How to Paint Kitchen Cabinets: A Complete Beginner’s Guide
Replacing kitchen cabinets is expensive. Painting them, done correctly, can completely transform a kitchen for a fraction of the cost. But knowing how to paint kitchen cabinets properly involves a lot more than just grabbing a brush and a can of paint.
Cabinets face daily wear, grease exposure, and constant handling, which means the process is far more involved than painting a regular wall. This guide walks through every step, from removing doors and degreasing surfaces to choosing the right paint and finish, so your cabinets end up looking professionally done and built to last.
Unlike painting a bedroom or living room wall, cabinets deal with moisture, heat, and constant opening and closing, which means shortcuts tend to show up much faster. Taking the process seriously from the start makes a real difference in how long the finished result actually lasts.
Supplies You’ll Need
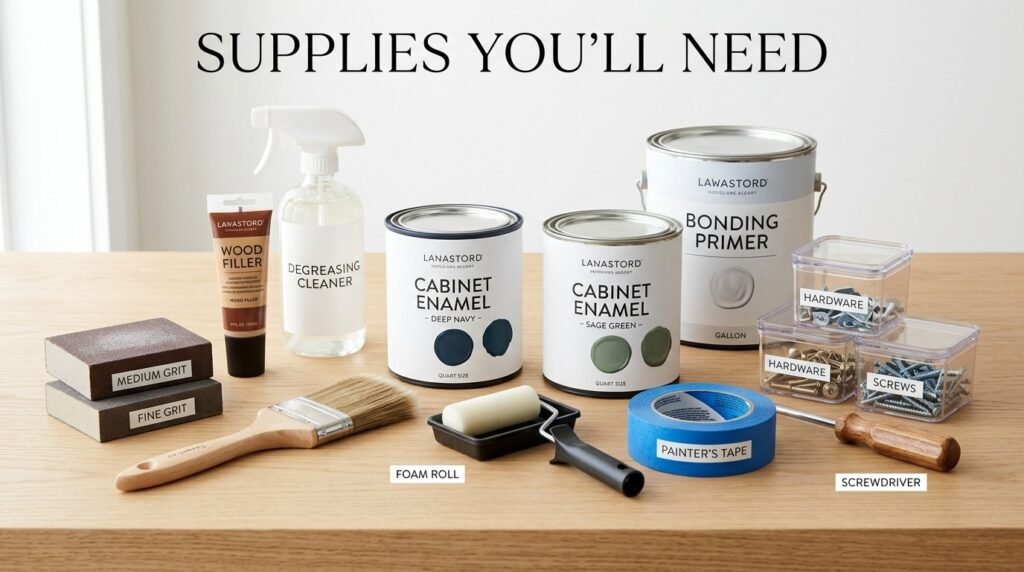
Gathering the right supplies before you begin makes the entire project run far more smoothly.
- Screwdriver for removing doors, drawers, and hardware
- Degreasing cleaner, essential for kitchen surfaces
- Sandpaper or a sanding block (medium and fine grit)
- Wood filler, for dents or damaged spots
- Primer, ideally a bonding primer for cabinets
- Cabinet-grade paint in your chosen finish
- Angled brush and small foam roller, or a paint sprayer
- Painter’s tape for protecting walls and countertops
- Plastic bags or containers for labeling and storing hardware
Step 1: Remove Doors, Drawers, and Hardware
Take off every cabinet door, drawer front, and piece of hardware before you begin. Painting cabinets while they’re still attached almost always results in uneven coverage and drips in hinge areas.
Create a Labeling System
Before removing anything, label each door and its matching cabinet opening with painter’s tape and a marker. Store screws and hardware in labeled bags. This single step prevents the most common frustration people run into during reassembly, when doors no longer match their original openings.
Step 2: Clean and Degrease the Cabinets
This step is where cabinet painting differs most from painting a regular wall, and it’s often the part people skip when trying to rush how to paint kitchen cabinet projects. Kitchen cabinets accumulate cooking grease and grime over time, even if they don’t look visibly dirty. Use a strong degreasing cleaner on every surface, including the backs of doors and inside edges. Skipping this step is one of the most common reasons paint fails to adhere properly to kitchen cabinets, leading to peeling within just a few months.
Step 3: Sand the Surfaces
Sanding creates a slightly rough texture that helps paint grip the surface properly.
Why Sanding Matters for Paint Adhesion
Cabinets are often finished with a factory coating or glossy varnish, which paint doesn’t stick to well on its own. Light sanding breaks through this smooth layer, giving primer and paint something to hold onto.
How Much Sanding Is Enough
You don’t need to sand down to bare wood. A light pass with medium-grit sandpaper, enough to dull the shine and create a slightly rough texture, is usually sufficient. Wipe away all dust with a tack cloth or damp rag before moving forward.
Step 4: Repair and Fill Imperfections
Inspect every surface for dents, scratches, or small holes. Fill these with wood filler, let it dry fully according to the product instructions, then sand it smooth so it blends seamlessly with the surrounding surface. Skipping repairs at this stage means every flaw will be far more visible once the paint goes on.
Step 5: Prime the Cabinets
Unlike painting a wall, priming is almost always necessary when learning how to paint kitchen cabinets correctly. A bonding primer is specifically designed to stick to slick surfaces like laminate, varnished wood, or previously painted cabinets. Skipping primer, even with high-quality paint, often results in poor adhesion and a finish that chips easily over time.
Step 6: Choose the Right Paint
The type of paint you choose has a major impact on how well your cabinets hold up over time.
Best Paint Types for Cabinets
Cabinet-specific paints or high-quality enamel paints are strongly recommended over standard wall paint. These formulas are designed to cure into a harder, more durable finish that can withstand daily handling and cleaning.
Best Finish for Cabinets
Satin or semi-gloss finishes are the most popular choices for cabinets. They offer better durability and are easier to wipe clean compared to a flat or matte finish, which tends to show fingerprints and stains more easily.
Brush, Roller, or Sprayer?
A high-quality angled brush combined with a small foam roller works well for most beginners, offering good control with a smooth result. A paint sprayer can produce an even more professional, factory-like finish, but it requires more setup, ventilation, and practice to use effectively.
Choosing a Color for Your Cabinets
While technique and prep matter most for durability, color still plays a major role in how the finished kitchen feels.
Popular Cabinet Color Trends
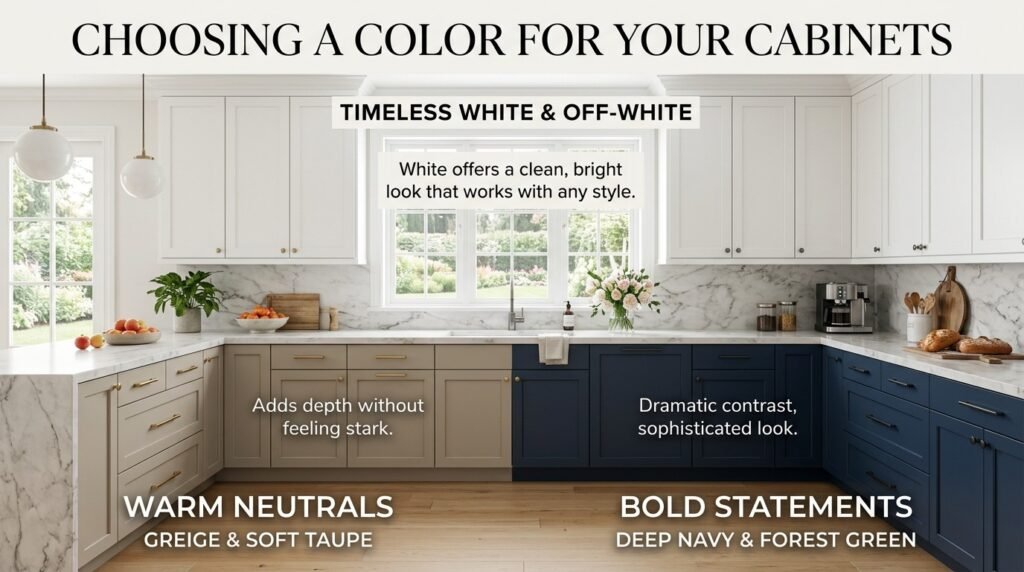
White and off-white cabinets remain a timeless, popular choice, offering a clean, bright look that works with almost any kitchen style. Warm neutrals like greige or soft taupe have also grown in popularity, adding a bit more depth without feeling stark. For those wanting more contrast, deep navy or forest green cabinets paired with lighter countertops have become a favored bold statement look.
Two-Tone Cabinet Ideas
A popular modern approach involves painting upper and lower cabinets in two different colors, such as white uppers paired with a deeper navy or sage lower cabinet run. This adds visual interest without overwhelming the entire kitchen in one bold shade.
Step 7: How to Paint Kitchen Cabinets Step-by-Step
This is the stage where technique makes the biggest visible difference.
Paint Doors Flat
Lay cabinet doors flat on a table or sawhorses rather than painting them while hanging. This prevents drips and makes it much easier to apply even coverage across the entire surface.
Apply Thin, Even Coats
Thick coats of paint lead to drips, uneven texture, and longer drying times. Two to three thin coats almost always produce a smoother, more professional-looking result than one thick coat.
Let Each Coat Dry Fully
Rushing between coats is one of the most common mistakes people make when learning how to paint kitchen cabinets. Most cabinet paints need several hours of drying time between coats, and skipping this can cause the surface to remain tacky or peel later on.
Step 8: Reassemble and Add Hardware
Once the final coat has fully cured, generally after 24 to 48 hours, reattach doors, drawers, and hardware using your labeling system from earlier. Curing time is different from drying time; even if paint feels dry to the touch, it can still be soft underneath for several days, so handle cabinets gently during this period.
Common Mistakes to Avoid
These mistakes are the most common reasons cabinet paint jobs fail to hold up.
- Skipping degreasing, which leads to poor paint adhesion and early peeling.
- Applying paint too thick, causing drips and an uneven texture.
- Not sanding beforehand results in paint that doesn’t bond properly to glossy surfaces.
- Rushing the drying and curing time can cause chipping soon after reassembly.
- Using standard wall paint instead of a cabinet-grade or enamel formula.
How Long Does the Whole Process Take?
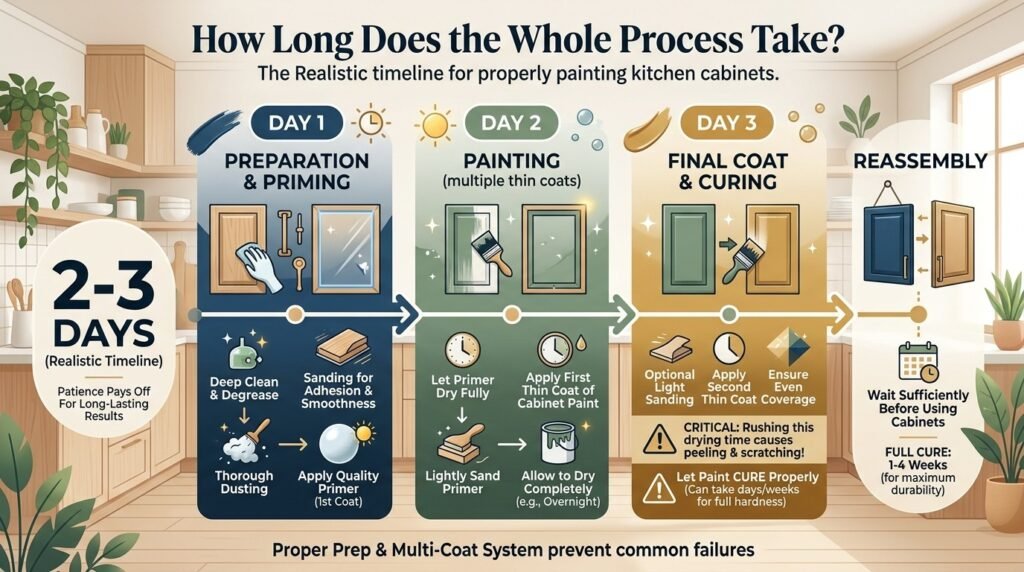
Despite looking like a weekend project, painting kitchen cabinets realistically takes two to three days when done properly. This includes time for cleaning, sanding, priming, multiple thin coats of paint, and drying time between each stage. Rushing this timeline is one of the biggest reasons cabinet paint jobs don’t hold up well over time.
Frequently Asked Questions
Do I need to sand cabinets before painting?
Yes, in almost all cases. Light sanding helps break through the glossy factory finish so primer and paint can properly adhere to the surface.
What is the best paint for kitchen cabinets?
Cabinet-grade or high-quality enamel paint in a satin or semi-gloss finish is generally recommended for durability and easy cleaning.
How long do painted cabinets last?
With proper prep and a quality paint, cabinets can last many years before needing a touch-up, though high-traffic areas like handles may show wear sooner.
Can I paint over laminate cabinets?
Yes, but laminate surfaces require thorough cleaning, light sanding, and a bonding primer specifically designed for slick surfaces to ensure the paint adheres properly.
Do I really need to remove cabinet doors before painting?
While not strictly required, removing doors makes it much easier to achieve even, drip-free coverage and access hard-to-reach edges and corners.
Is it worth learning how to paint kitchen cabinets myself instead of hiring a professional?
For those comfortable with a multi-day project and attention to detail, doing it yourself can save significant money compared to hiring a professional, though a rushed DIY job without proper prep may not last as long as professional work.
Final Thoughts
Learning how to paint kitchen cabinets properly comes down to patience and thorough preparation. Degreasing, sanding, priming, and applying thin, even coats all matter far more than the final paint color itself. Skipping any of these steps is usually what separates a cabinet paint job that lasts for years from one that starts peeling within months.
With the right process and enough drying time between each stage, painted cabinets can genuinely rival the look of brand-new ones at a fraction of the cost.